PC Cooling Showdown: Drop CPU Temps by 10°C
Achieving a 10-degree Celsius reduction in PC operating temperatures is crucial for enhancing system stability, extending component lifespan, and maximizing performance, particularly under heavy loads like gaming or demanding applications.
Welcome to the ultimate PC Cooling Showdown: Choosing the Right Cooler to Drop Temperatures by 10 Degrees Celsius! If you’re a PC enthusiast, gamer, or professional, you understand the critical role effective cooling plays in system performance and longevity. Overheating can lead to throttling, instability, and even permanent hardware damage, making a robust cooling solution not just an upgrade, but a necessity.
Understanding the Heat Problem in Modern PCs
Modern PC components, especially CPUs and GPUs, generate substantial heat, a byproduct of their immense processing power. This heat, if not effectively managed, can quickly elevate internal system temperatures, leading to a cascade of performance issues. Excessive heat forces components to operate outside their optimal thermal envelopes, triggering protective mechanisms like thermal throttling. This throttling reduces clock speeds and voltage to lower heat output, directly impacting your system’s responsiveness and overall performance.
The challenge intensifies with overclocking, where components are pushed beyond their factory settings for even greater performance gains. While exhilarating, overclocking significantly increases heat generation, demanding superior cooling solutions to maintain stability. Even daily tasks, if prolonged or intensive, can push temperatures to uncomfortable levels. Understanding the root causes of heat buildup is the first step toward implementing an effective cooling strategy that can truly make a difference in your PC’s thermal profile.
The impact of thermal throttling
Thermal throttling is a built-in safety feature designed to prevent components from self-destructing due to overheating. While essential, it comes at a significant cost to performance. When your CPU or GPU hits a predefined temperature threshold, the system automatically reduces its operating frequency, effectively slowing down your PC. This means your expensive, high-performance hardware isn’t delivering its full potential, leading to stuttering in games, slower render times, and overall sluggishness.
- Reduced clock speeds: Components automatically downclock to generate less heat.
- Lower frame rates: Especially noticeable in graphically intensive games.
- Increased latency: Overall system responsiveness takes a hit.
- Shorter component lifespan: Prolonged exposure to high temperatures can degrade hardware over time.
Why 10 degrees Celsius matters
A 10-degree Celsius drop in operating temperatures might seem like a modest goal, but its impact on PC health and performance is profound. This reduction often moves components out of their throttling zones, allowing them to sustain higher clock speeds for longer durations. It also significantly contributes to the longevity of your hardware by reducing thermal stress. Furthermore, lower temperatures mean quieter operation, as fans don’t have to spin as fast to dissipate heat, improving your overall computing experience.
In essence, achieving this 10-degree reduction transforms your PC from a system constantly fighting against its own heat to one running efficiently and quietly, unlocking its true performance potential. It’s a sweet spot that balances effective cooling with practical implementation, making it an ideal target for any serious PC user.
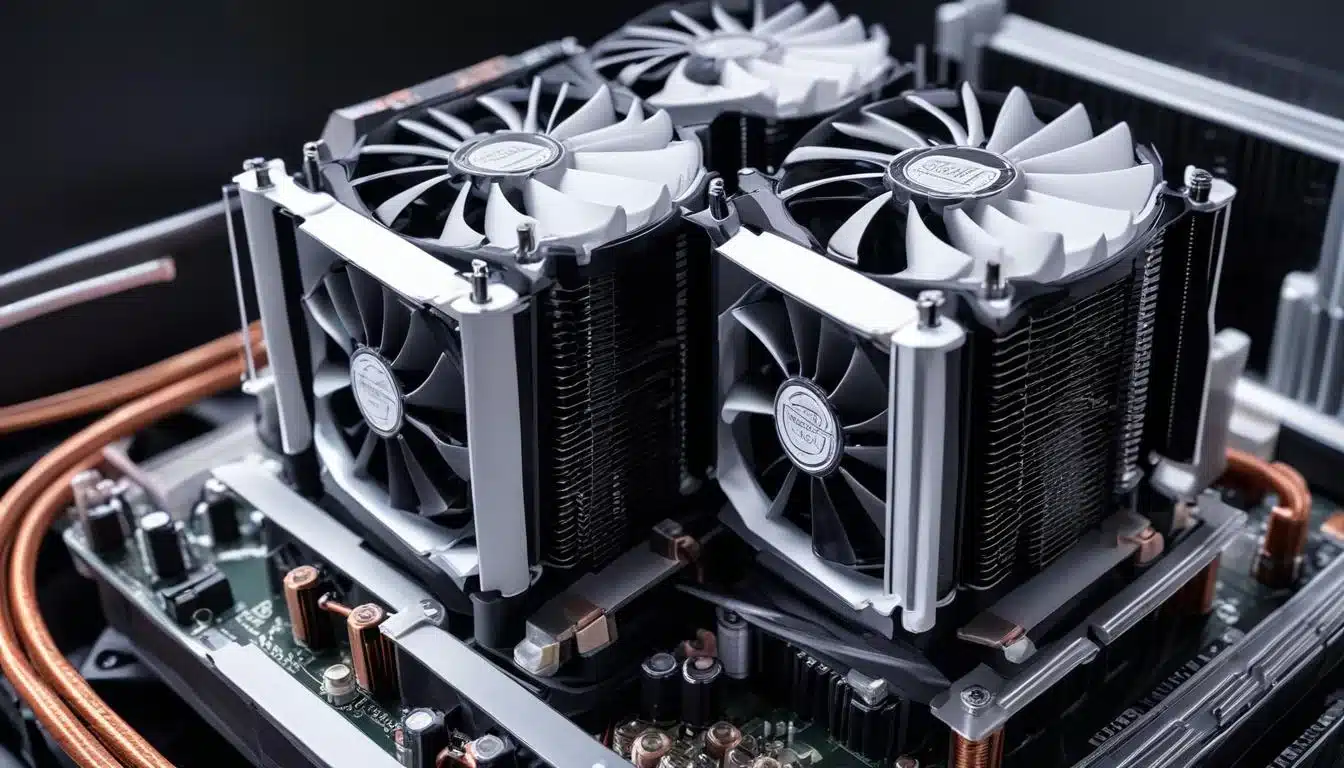
Air Cooling: The Traditional Workhorse
Air cooling has been the cornerstone of PC thermal management for decades, and for good reason. It’s a straightforward, reliable, and often cost-effective solution that relies on basic principles of heat transfer. At its core, an air cooler consists of a heatsink, typically made of copper or aluminum, and one or more fans. The heatsink draws heat away from the CPU (or GPU), while the fans then disperse that heat into the surrounding air, which is then exhausted from the PC case.
While often perceived as less potent than liquid cooling, modern high-performance air coolers are incredibly capable, often rivaling entry-level liquid coolers in their ability to dissipate heat. Their simplicity makes them attractive to many users, as they require minimal maintenance and present fewer points of failure compared to more complex liquid systems. Understanding the different types and features of air coolers is essential to making an informed decision about their suitability for your specific thermal goals.
Tower coolers vs. low-profile coolers
Air coolers come in various designs, each catering to different needs and case sizes. Tower coolers, characterized by their tall, finned heatsinks and often multiple fans, are designed for maximum heat dissipation. They excel in larger cases with ample airflow, providing excellent performance for high-end CPUs and overclocking scenarios. These coolers often feature multiple heat pipes, which efficiently transfer heat from the CPU’s integrated heat spreader (IHS) to the heatsink fins.
- Tower coolers: Ideal for high-performance systems and overclocking.
- Excellent heat dissipation: Large surface area and multiple fans.
- Can be bulky: May interfere with RAM clearance or fit in smaller cases.
Low-profile coolers, on the other hand, are compact and designed for smaller form factor (SFF) builds, such as mini-ITX systems or home theater PCs. While they offer less raw cooling power than their tower counterparts, they are crucial for space-constrained environments where traditional coolers simply won’t fit. Their design prioritizes compactness, often featuring a shorter heatsink and a fan mounted directly on top, pushing air downwards onto the heatsink and surrounding components.
Key features to look for in an air cooler
When selecting an air cooler, several features directly influence its effectiveness. The number and diameter of heat pipes are critical, as they are responsible for transferring heat from the CPU base to the heatsink fins. More heat pipes, especially thicker ones, generally mean better heat transfer. The size and density of the heatsink fins also play a significant role; a larger surface area allows for more efficient heat dissipation. Fan size, RPM, and static pressure are equally important. Larger fans often move more air at lower RPMs, resulting in quieter operation, while high static pressure fans are better at pushing air through dense fin arrays.
Compatibility with your CPU socket and RAM clearance are practical considerations that cannot be overlooked. Some large tower coolers can obstruct RAM slots, especially those with tall heat spreaders. Checking the cooler’s dimensions against your case and motherboard specifications is always a wise step to ensure a smooth installation and optimal airflow around your components. A well-chosen air cooler can deliver a substantial temperature drop, often achieving the target 10 degrees Celsius reduction without the complexity of liquid solutions.
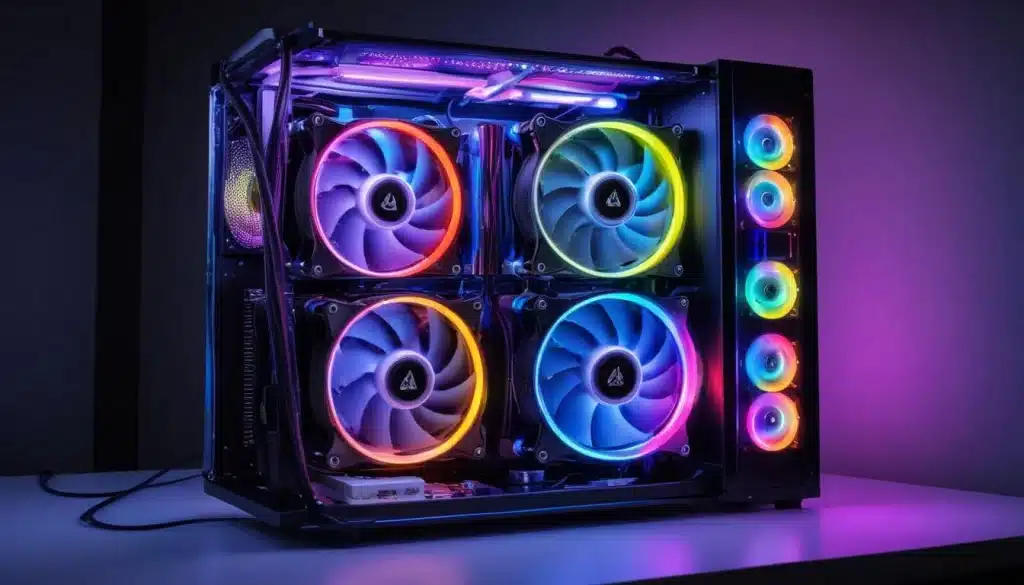
Liquid Cooling: The Performance King
Liquid cooling, also known as water cooling, represents the pinnacle of PC thermal management, particularly for high-performance systems and enthusiasts seeking the absolute best in temperature reduction and aesthetic appeal. Unlike air cooling, which relies on metal heatsinks and fans, liquid cooling systems use a circulating fluid (typically distilled water with additives) to transfer heat away from components. This fluid absorbs heat from a water block mounted on the CPU (and sometimes GPU), then travels through tubes to a radiator where the heat is dissipated into the ambient air by fans.
The inherent advantage of liquid cooling lies in the superior thermal conductivity of water compared to air. This allows liquid coolers to absorb and transfer heat much more efficiently, leading to significantly lower operating temperatures, especially under heavy loads. This makes them an ideal choice for overclocking, demanding gaming, and professional applications where sustained performance is paramount. Liquid cooling solutions come in two main categories: All-in-One (AIO) coolers and custom liquid cooling loops, each offering distinct advantages and complexities.
All-in-One (AIO) liquid coolers: simplicity and efficiency
AIO liquid coolers are a popular choice for many users who want the benefits of liquid cooling without the hassle of building a custom loop. These units come pre-assembled, pre-filled, and sealed, making installation relatively straightforward. An AIO typically consists of a CPU water block with an integrated pump, tubing, a radiator, and fans. The components are all connected and ready to go out of the box, eliminating the need for manual assembly, filling, and leak testing.
- Easy installation: No complex assembly or filling required.
- Excellent performance: Often outperforms high-end air coolers.
- Aesthetic appeal: Cleaner look inside the case with less clutter.
- Reduced noise: Fans often run slower due to efficient heat transfer.
AIOs are available in various radiator sizes, such as 120mm, 240mm, 280mm, and 360mm, with larger radiators generally offering better cooling performance. The choice of radiator size depends on your case compatibility and cooling needs. While AIOs offer a significant upgrade over air cooling, they do introduce a pump, which is an additional moving part and potential point of failure. However, modern AIOs are highly reliable and come with excellent warranties, making them a safe and effective choice for achieving that crucial 10-degree Celsius temperature drop.
Custom liquid cooling loops: ultimate control and performance
Custom liquid cooling loops represent the pinnacle of PC cooling. These systems are built from individual components – water blocks, pumps, reservoirs, radiators, tubing, and fittings – allowing for complete customization and unparalleled thermal performance. A custom loop can cool not only the CPU but also the GPU, motherboard VRMs, and even RAM, creating a comprehensive cooling solution for the entire system. This level of integration leads to the lowest possible operating temperatures and the highest overclocking potential.
Building a custom loop is a complex and time-consuming process, requiring careful planning, assembly, and leak testing. It’s a project for experienced builders and enthusiasts who enjoy the challenge and desire ultimate control over their system’s aesthetics and performance. The initial cost is also significantly higher than AIOs or air coolers. However, for those who embark on this journey, the rewards are substantial: a stunning, whisper-quiet PC capable of sustaining extreme overclocks and delivering peak performance consistently. A well-designed custom loop can easily achieve and surpass the goal of a 10-degree Celsius temperature drop, often by a much wider margin.
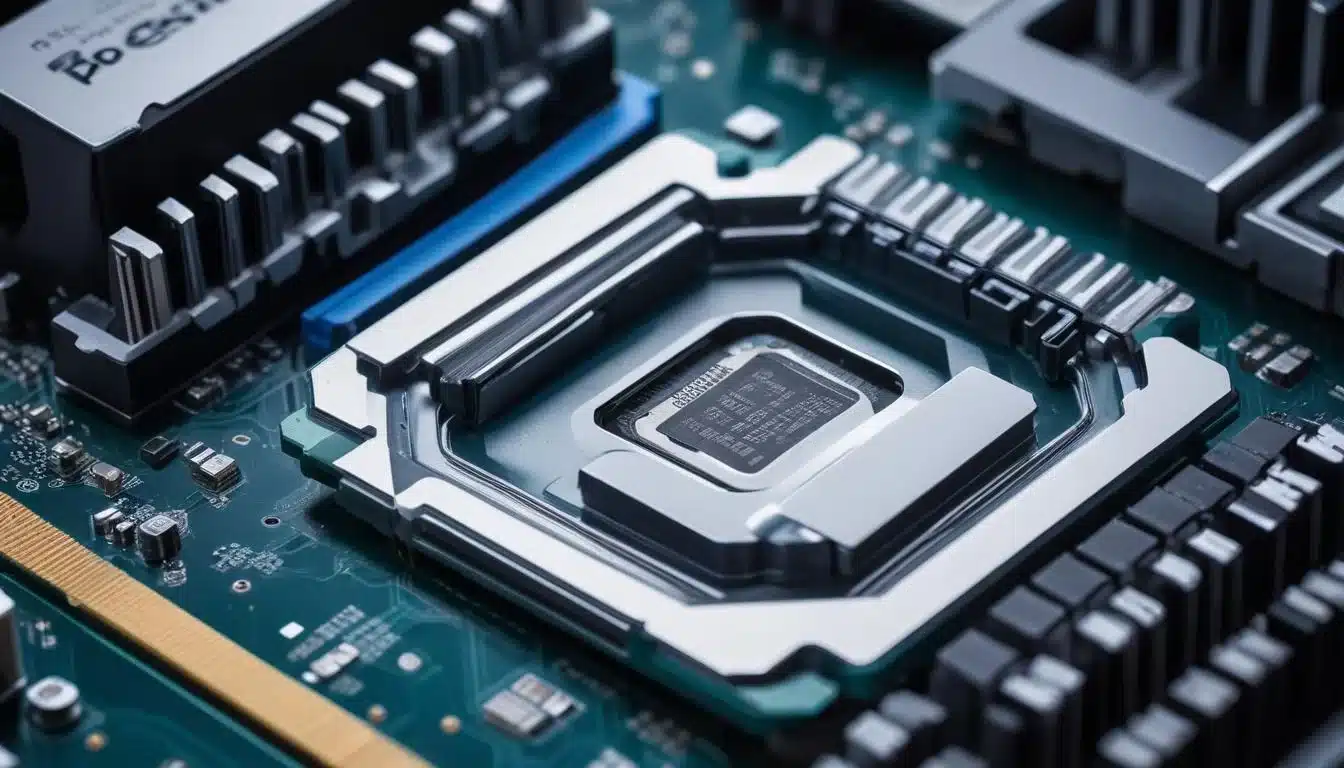
Thermal Paste and Mounting Pressure: Often Overlooked Heroes
While the choice of cooler, be it air or liquid, is undoubtedly paramount, the effectiveness of any cooling solution hinges significantly on two often-underestimated factors: thermal paste and mounting pressure. These seemingly minor details act as critical interfaces between your CPU’s integrated heat spreader (IHS) and the cooler’s cold plate. A perfect application of thermal paste and adequate, even mounting pressure can dramatically improve heat transfer, sometimes yielding several degrees of temperature reduction on their own. Neglecting these aspects can severely bottleneck even the most powerful cooling hardware, preventing you from achieving your desired thermal goals.
Thermal paste, a thermally conductive compound, fills the microscopic imperfections and air gaps between the CPU’s IHS and the cooler’s cold plate. Air is a poor conductor of heat, so these tiny gaps, if left unfilled, would act as insulators, hindering heat transfer. A high-quality thermal paste effectively bridges these gaps, creating a more direct and efficient pathway for heat to move from the CPU to the cooler. Similarly, proper mounting pressure ensures that the cold plate makes full, even contact with the IHS, maximizing the surface area for heat exchange.
Choosing the right thermal paste
The market offers a wide array of thermal pastes, each with varying thermal conductivity, viscosity, and application methods. While many coolers come with pre-applied paste or a small tube, investing in a high-quality aftermarket thermal paste can provide a noticeable performance boost. These pastes often boast higher thermal conductivity ratings, meaning they can transfer heat more efficiently. Common types include:
- Ceramic-based: Non-conductive, good performance, durable.
- Metal-based (often silver): Excellent conductivity, usually electrically conductive (handle with care).
- Liquid metal: Best conductivity, electrically conductive, requires careful application, not for all coolers.
For most users, a good quality ceramic or metal-based paste offers an excellent balance of performance, safety, and ease of application. Liquid metal pastes offer superior performance but come with risks of electrical shorts if not applied perfectly, and they can react with certain aluminum cold plates, making them suitable only for experienced users with nickel-plated copper cold plates.
The importance of proper mounting pressure
Mounting pressure is just as critical as the thermal paste itself. The goal is to achieve firm, even contact between the cooler’s cold plate and the CPU’s IHS. Too little pressure, and the contact will be poor, resulting in hot spots and inefficient heat transfer. Too much pressure can warp the motherboard or even damage the CPU socket, though modern mounting mechanisms are designed to prevent this in most cases. The ideal pressure ensures the thermal paste spreads evenly, forming a thin, consistent layer that maximizes heat transfer.
When installing your cooler, follow the manufacturer’s instructions carefully regarding screw tightening patterns. Often, a cross-pattern (tightening diagonally opposite screws incrementally) is recommended to ensure even pressure distribution. Once installed, it’s a good practice to monitor temperatures to confirm effective mounting. If temperatures are unexpectedly high, reapplying thermal paste and re-checking mounting pressure should be among your first troubleshooting steps. These meticulous details collectively contribute to achieving that desired 10-degree Celsius temperature drop, unlocking the full potential of your cooling solution.
Case Airflow and Fan Configuration: The Unsung Heroes
Even the most powerful CPU cooler can be severely hampered if the PC case itself lacks adequate airflow. The air inside your computer case acts as the medium for heat exchange; if this air becomes stagnant or too hot, your cooler has nowhere to dissipate the heat effectively. Think of it this way: your CPU cooler is designed to transfer heat from the CPU to the air, but if that air is already warm and trapped, the heat transfer process becomes inefficient. This is where proper case airflow and intelligent fan configuration become absolutely critical, often being the difference between mediocre and exceptional cooling performance.
Effective case airflow involves creating a clear path for cool air to enter the case, flow over heat-generating components, absorb heat, and then be exhausted. This continuous cycle ensures a constant supply of cooler ambient air for your CPU and GPU coolers to work with. Neglecting case airflow is akin to trying to cool a hot engine in a sealed box; it simply won’t work efficiently. Optimizing your case’s fan setup can lead to significant temperature reductions across all components, complementing your primary cooler’s efforts and helping you achieve that crucial 10-degree Celsius drop.
Optimizing intake and exhaust fans
The most fundamental aspect of good case airflow is balancing intake and exhaust fans. Intake fans draw cool air into the case, typically from the front or bottom, while exhaust fans push hot air out, usually from the rear or top. The goal is to create a positive or neutral pressure system, where either slightly more air is coming in than going out (positive pressure) or an equal amount (neutral pressure). Positive pressure helps prevent dust buildup by forcing air out through any unsealed openings, while neutral pressure maintains a balanced flow.
- Positive pressure: More intake than exhaust, helps prevent dust.
- Negative pressure: More exhaust than intake, can draw dust in through unfiltered openings.
- Balanced airflow: Equal intake and exhaust, optimal for many setups.
Consider the placement of your fans carefully. Front and bottom fans are generally best for intake, directing cool air towards the CPU and GPU. Rear and top fans are ideal for exhaust, expelling the hot air that rises within the case. The number of fans and their size also matter; larger fans often move more air quietly than smaller fans spinning at higher RPMs.
Cable management and dust filters
Good cable management is not just for aesthetics; it plays a vital role in airflow. Cluttered cables can obstruct the path of air, creating turbulence and dead spots where heat can accumulate. Taking the time to route cables neatly behind the motherboard tray or along the case edges ensures unimpeded airflow. Similarly, dust filters on intake fans are essential. Dust acts as an insulator, coating heatsinks and fans, reducing their efficiency over time. Regular cleaning of these filters and internal components is crucial for maintaining optimal cooling performance.
By keeping your case clean and cables tidy, you ensure that the air your fans move is clean and unobstructed, allowing your cooling components to perform at their best. This holistic approach to cooling, combining a powerful CPU cooler with optimized case airflow, creates an environment where your PC can consistently run cooler and more efficiently, making the 10-degree Celsius temperature drop not just achievable, but sustainable.
Software Optimization and Monitoring: Smart Cooling Strategies
Beyond hardware, software plays a pivotal role in fine-tuning your PC’s cooling performance and ensuring components operate within safe thermal limits. Modern operating systems and motherboard utilities offer a suite of tools for monitoring temperatures, adjusting fan curves, and even managing CPU voltage, all of which contribute to a smarter, more efficient cooling strategy. Ignoring these software-based optimizations means leaving potential performance and thermal improvements on the table. A truly optimized cooling setup integrates both robust hardware and intelligent software management to achieve the best possible thermal profile for your PC.
Monitoring your temperatures is the first step. Without accurate data, it’s impossible to know if your cooling solutions are effective or if adjustments are needed. Various software tools provide real-time temperature readings for your CPU, GPU, motherboard, and even storage drives. Once you have this data, you can then proceed to optimize fan speeds and potentially tweak CPU voltage to further reduce heat generation, all through intuitive software interfaces. This proactive approach ensures your PC remains cool and stable under various workloads.
Fan control and custom fan curves
Most motherboards come with BIOS-level fan control, allowing you to set custom fan curves based on temperature thresholds. This means your fans can spin faster when temperatures rise and slow down when they’re cool, balancing performance with acoustics. Software utilities from motherboard manufacturers (e.g., ASUS AI Suite, MSI Dragon Center, Gigabyte SIV) or third-party tools like FanControl offer even more granular control within Windows. These tools allow you to:
- Create custom fan curves: Define fan speed percentage at specific temperatures.
- Link fan speeds to specific components: For example, CPU fan speed linked to CPU temperature.
- Set minimum and maximum fan speeds: Prevent fans from stopping or running at uncomfortable maximums.
- Monitor fan RPMs: Ensure all fans are operating as expected.
By creating intelligent fan curves, you can ensure your system is always adequately cooled without unnecessary noise. For example, during light tasks, fans can run silently, but when you launch a demanding game, they ramp up to provide the necessary cooling power to maintain that 10-degree Celsius temperature drop.
CPU undervolting and power limits
Undervolting your CPU involves reducing the voltage supplied to it while maintaining stable clock speeds. CPUs are often over-volted from the factory to ensure stability across a wide range of chips, meaning they typically receive more voltage than they strictly need. By carefully lowering this voltage, you can significantly reduce power consumption and, consequently, heat generation, often without any performance loss. This can lead to a noticeable temperature drop, sometimes even more than 10 degrees Celsius, depending on the CPU and its stock voltage.
Similarly, adjusting CPU power limits (PL1 and PL2) in your BIOS or through Intel XTU/AMD Ryzen Master software can help manage heat. While this might slightly reduce peak performance in multi-core workloads, it can dramatically lower temperatures, especially for users who prioritize stability and quieter operation over every last bit of raw processing power. These software-based tweaks, when combined with robust hardware cooling, create a highly efficient system that is both powerful and thermally optimized.
Future-Proofing Your Cooling: Longevity and Upgrades
Investing in a high-quality cooling solution is not just about addressing immediate thermal concerns; it’s also about future-proofing your PC and ensuring its longevity through multiple hardware generations. As technology advances, CPUs and GPUs continue to become more powerful, and with increased power comes increased heat. A cooling solution chosen today with future upgrades in mind can save you significant time and money down the line, allowing you to seamlessly transition to newer, more demanding components without needing an entirely new cooling setup. This foresight in planning extends the effective life of your cooling investment and your entire PC build.
Consider the potential for future CPU socket changes or increasing thermal design power (TDP) of upcoming processors. While some coolers offer broad compatibility, others are more restricted. Opting for a cooler with interchangeable mounting brackets or a versatile design can be a wise decision. Furthermore, the modularity of certain cooling systems, particularly custom liquid loops, allows for easy upgrades and modifications as your needs evolve. Thinking long-term about your cooling strategy ensures that your PC remains a capable and cool-running machine for years to come.
Modular and scalable cooling solutions
For those considering custom liquid cooling, the modular nature of these systems offers unparalleled future-proofing. Individual components like water blocks, radiators, and pumps can be upgraded or replaced independently. For example, if you upgrade your GPU, you can simply purchase a new GPU water block and integrate it into your existing loop. This scalability means your initial investment in a high-quality pump and radiator can serve you through multiple hardware iterations. Even AIOs are becoming more modular, with some brands offering expandable systems.
- Custom loops: Highly modular, components can be upgraded individually.
- AIOs: Some newer models offer expandable or serviceable features.
- Air coolers: Limited modularity, but often compatible with new sockets via adapter kits.
This adaptability minimizes waste and maximizes the return on your cooling investment. It also allows you to incrementally improve your cooling performance as new technologies become available or as your budget allows, ensuring you always have an optimal thermal environment.
Regular maintenance and cleaning
Regardless of the cooling solution you choose, regular maintenance is crucial for long-term performance and longevity. Dust accumulation is the arch-nemesis of any cooling system. Over time, dust buildup on heatsink fins, radiator fins, and fan blades acts as an insulator, severely impeding heat transfer and airflow. This can slowly but surely erode your 10-degree Celsius temperature drop, eventually leading to higher operating temperatures and reduced efficiency.
Routine cleaning, typically every 3-6 months depending on your environment, involves dusting out your case, cleaning fan blades, and using compressed air to clear heatsinks and radiators. For liquid cooling systems, periodic fluid changes (every 1-2 years for custom loops) and inspection for leaks or blockages are also essential. By committing to a regular maintenance schedule, you ensure your cooling system operates at peak efficiency for its entire lifespan, protecting your valuable components and preserving the thermal performance you worked so hard to achieve.
| Key Cooling Aspect | Impact on Temperature Drop |
|---|---|
| Cooler Type (Air/Liquid) | Fundamental choice for heat dissipation; liquid often superior for significant drops. |
| Thermal Paste & Mounting | Crucial interface; proper application ensures efficient heat transfer from CPU to cooler. |
| Case Airflow | Ensures cool air supply and hot air exhaust, vital for overall system cooling. |
| Software Optimization | Fine-tunes fan curves and CPU voltage for intelligent, efficient thermal management. |
Frequently Asked Questions About PC Cooling
Not always. While liquid cooling generally offers superior performance, a high-end air cooler can often match or even surpass entry-level AIO liquid coolers. The best choice depends on your specific CPU, case airflow, and overall system requirements. For a guaranteed 10°C drop, liquid cooling provides a more consistent solution for high-TDP CPUs.
Generally, thermal paste should be replaced every 2-3 years, or whenever you remove your CPU cooler. Over time, thermal paste can dry out or degrade, reducing its effectiveness. If you notice a sudden increase in CPU temperatures, reapplying fresh thermal paste is a good first troubleshooting step to restore optimal heat transfer.
Absolutely. Even with the best CPU cooler, if hot air is trapped inside your case or cool air cannot reach the components, overall system temperatures will rise. Poor airflow hinders your CPU cooler’s ability to dissipate heat, potentially negating its effectiveness and preventing you from achieving desired temperature drops.
CPU undervolting is the process of reducing the voltage supplied to your CPU without lowering its clock speed. This reduces power consumption and, consequently, heat generation. Many CPUs are over-volted from the factory, so undervolting can significantly lower temperatures by several degrees Celsius, contributing to a quieter and more efficient system.
While not always strictly ‘necessary’ for basic operation, achieving a 10°C temperature drop is highly beneficial. It ensures your components operate below thermal throttling thresholds, allowing them to sustain peak performance. This leads to greater stability, extended hardware lifespan, and a more enjoyable computing experience, especially for gaming and demanding tasks.
Conclusion
Achieving a significant temperature drop, ideally around 10 degrees Celsius, is a transformative goal for any PC enthusiast seeking to unlock their system’s full potential. This comprehensive guide has explored the multifaceted world of PC cooling, from the foundational principles of air and liquid solutions to the critical nuances of thermal paste application, case airflow, and intelligent software optimization. By understanding these interconnected elements and implementing the right strategies, you can not only prevent thermal throttling and extend hardware lifespan but also elevate your overall computing experience to a new level of performance and stability. The journey to a cooler PC is an investment in both its present capabilities and its future longevity, ensuring your machine remains a powerful and reliable companion for years to come.