Nintendo Switch Won’t Turn On? Your Ultimate Repair Guide
When your Nintendo Switch refuses to power on, it can be frustrating, but this comprehensive guide details a step-by-step Nintendo Switch repair guide to help diagnose and resolve common power-related issues, getting you back to gaming.
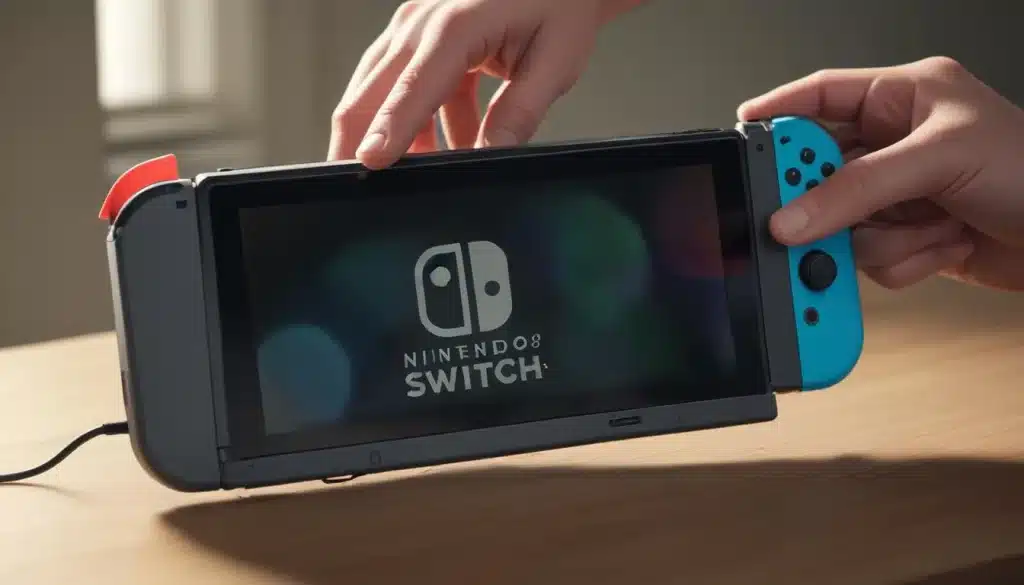
Experiencing the dreaded black screen on your Nintendo Switch can be incredibly disheartening, especially when you’re eager to dive into your favorite games. If your Nintendo Switch repair guide journey begins with a console that simply won’t power on, don’t panic. This guide is designed to walk you through a systematic approach to troubleshooting and potential fixes, empowering you to identify the problem and, hopefully, revive your gaming device.
Initial checks and basic troubleshooting
Before delving into more complex solutions, it’s crucial to perform a series of initial checks. Many “power on” issues are often resolved with simple steps that address common oversights or minor glitches. These first actions can save you a lot of time and effort, so approach them methodically.
Start by ensuring that the most fundamental components are functioning correctly. This includes verifying the power source, checking connections, and understanding the console’s current state. Overlooking these basics is a common pitfall for many users.
Power source verification
The most common reason a device won’t turn on is a lack of power. Confirm that your Switch is receiving adequate power from a reliable source. This involves more than just plugging it in; it means checking the integrity of the entire power delivery chain.
- Check the AC adapter: Ensure it’s the official Nintendo Switch AC adapter. Third-party chargers may not provide sufficient power or could even damage your console.
- Inspect the power outlet: Plug another device into the same outlet to confirm it’s working. If not, try a different outlet or even a different room.
- Examine the USB-C cable: Look for any kinks, fraying, or damage to the cable connecting the adapter to the Switch. A damaged cable can prevent proper charging.
Hard reset procedure
Sometimes, the Switch might be on but simply unresponsive, or a software glitch might be preventing it from displaying anything. A hard reset can often clear these temporary issues without affecting your saved data.
To perform a hard reset, press and hold the power button on the top of the console for at least 12 seconds. Release the button, then press it once normally to try turning the console back on. If successful, you should see the Nintendo logo appear.
Concluding this initial phase, remember that patience is key. Systematically checking these basic elements can often resolve the problem quickly, allowing you to avoid unnecessary stress and potentially more involved troubleshooting. If these steps don’t work, it’s time to move on to more specific diagnostics.
Battery and charging considerations
A dead or faulty battery is a frequent culprit when a Nintendo Switch refuses to power on. Even if you’ve tried charging it, there might be underlying issues with how the console is receiving or retaining charge. Understanding these aspects is vital for an effective Nintendo Switch repair guide.
The Switch’s battery requires a certain level of charge to even initiate the power-on sequence. If it’s been completely drained for an extended period, it might take a while to show any signs of life, even when plugged in.
Extended charging period
If your Switch has been completely depleted of battery for a long time, it might need an extended charging session before it can turn on. This isn’t uncommon for devices with lithium-ion batteries that have entered a deep discharge state.
- Charge for several hours: Plug your Switch into its official AC adapter and leave it to charge for at least 3-4 hours, or even overnight, without attempting to turn it on.
- Monitor charging indicator: Some Switch models or docks have a small LED that indicates charging status. Look for any signs that power is being received.
- Avoid playing while charging: For the initial extended charge, it’s best to leave the console untouched to ensure maximum power delivery to the battery.
Troubleshooting the charging port
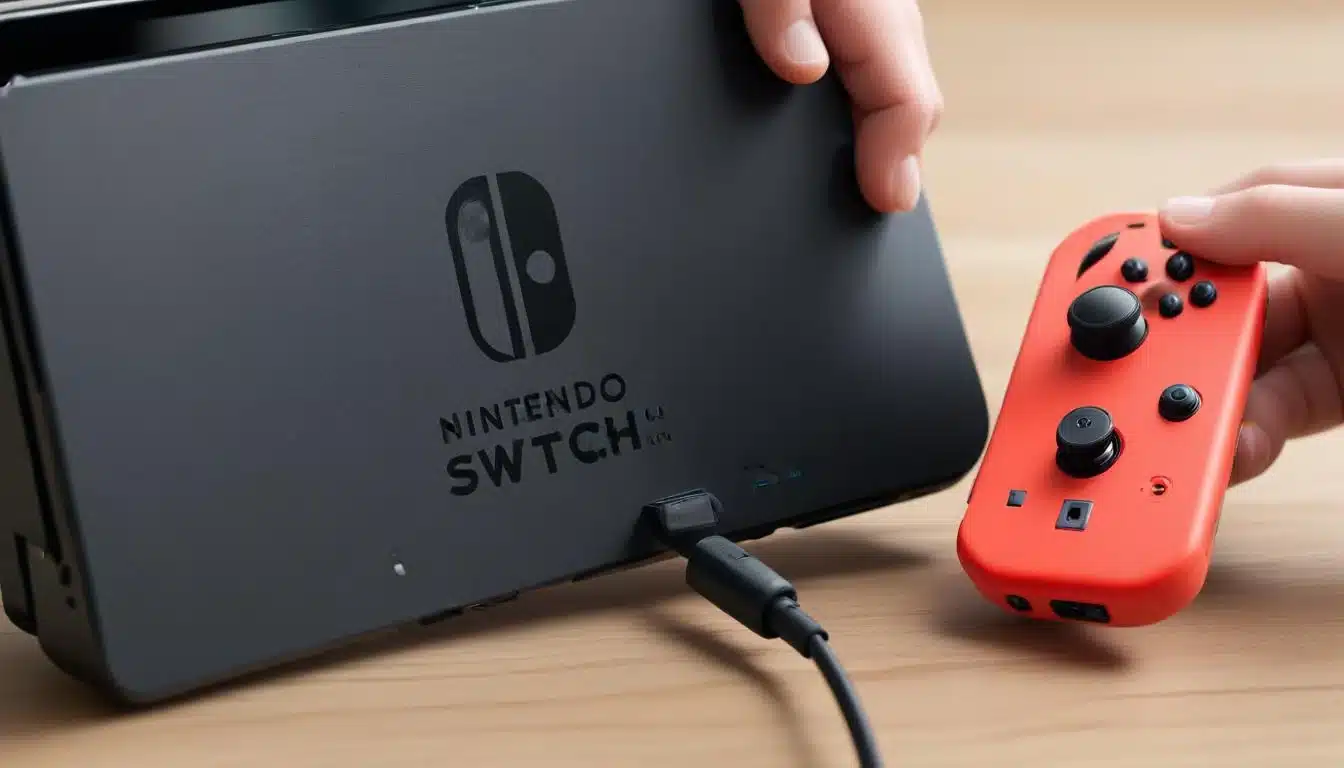
The USB-C charging port can be susceptible to damage or debris, which can prevent proper charging. A careful inspection is necessary to rule this out as a cause.
Use a flashlight to inspect the USB-C port on your Switch for any dust, lint, or foreign objects that might be obstructing the connection. If you find any, gently clean it with a small, non-metallic tool like a wooden toothpick or a can of compressed air. Be extremely cautious not to damage the delicate pins inside the port.
It’s also worth trying to charge the Switch directly, bypassing the dock if you primarily use it docked. This helps determine if the issue lies with the dock’s charging capabilities rather than the console itself. Addressing battery and charging issues early can often resolve the problem without needing to explore more complex repairs or replacements.
Display and screen issues
Sometimes, your Nintendo Switch might be powered on, but the screen remains black, leading you to believe it’s not turning on at all. Differentiating between a power issue and a display issue is an important step in any Nintendo Switch repair guide.
This can be particularly tricky because a completely black screen gives no visual cues. However, there are a few methods to check if the console itself is actually running, even if the display isn’t.
Checking for audio and vibration
If your screen is black, try listening for audio cues or feeling for vibrations. These can indicate that the console is powered on and functioning internally, but the display is the problem.
- Listen for sounds: When you press the power button, do you hear any click sounds, menu navigation sounds, or game audio if it was left running?
- Feel for vibration: Some games or system actions trigger controller vibrations. Try pressing buttons or moving joysticks to see if you can feel any haptic feedback.
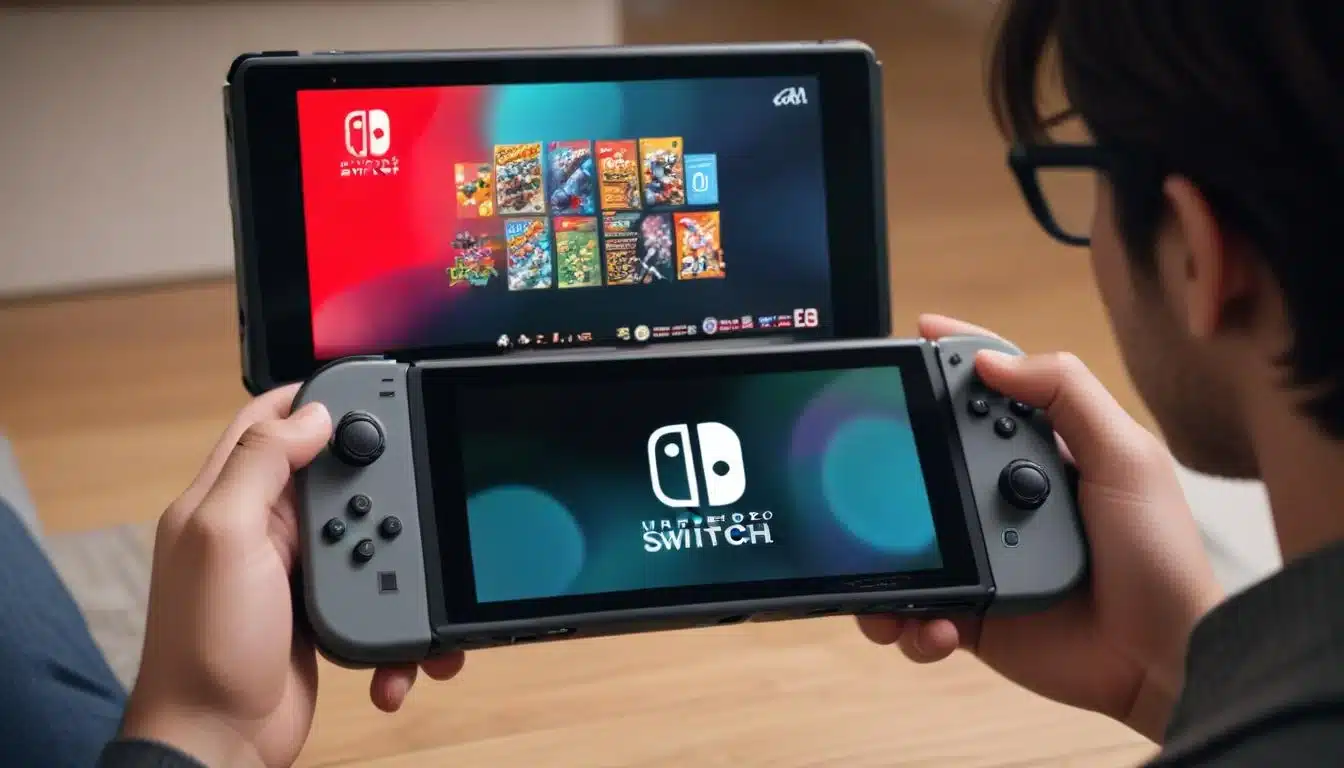
- Connect to a TV: If you have a Nintendo Switch dock, try docking your console and connecting it to a TV. If the image appears on the TV, the issue is with the Switch’s internal screen.
Screen brightness and backlight
It’s possible the screen brightness has been accidentally turned down to its lowest setting, or the backlight has failed. This can make the screen appear off even when it’s actively displaying an image.
While the console is (hopefully) on, try pressing the home button or volume buttons. If you see or hear any response, attempt to adjust the screen brightness by holding down the home button (or pressing it multiple times to bring up the quick settings menu) and navigating to the brightness slider. If you can get it to display on a TV, check the brightness settings there.
Identifying whether the problem is with the display or true power can significantly narrow down your troubleshooting. If the console outputs to a TV but the handheld screen is black, you’re likely looking at a screen replacement or repair for the internal display.
SD card and game cartridge interference
While less common, sometimes external storage or game cartridges can interfere with the console’s boot-up process. This is an often-overlooked aspect in a Nintendo Switch repair guide, but it’s worth investigating, especially if the issue started after inserting new media.
The system performs checks on inserted media during startup, and if there’s a corruption or a physical issue with the card or cartridge, it could halt the boot process.
Removing external media
To eliminate these as potential causes, temporarily remove any inserted SD cards or game cartridges and then attempt to power on the console.
- Eject game cartridges: Carefully remove any game cartridges from the slot.
- Remove the microSD card: Open the kickstand on the back of the Switch and gently press on the microSD card until it clicks and ejects.
- Attempt to power on: With all external media removed, try performing another hard reset (hold power button for 12+ seconds, then press again) to see if the console boots.
Inspecting the slots
Similar to the charging port, the game card slot and microSD card slot can accumulate dust or debris, which might cause connectivity issues. A thorough visual inspection is recommended.
Use a flashlight to check both slots for any foreign objects or damage. If you spot anything, use compressed air or a soft, dry brush to carefully clean the slots. Avoid using liquids or sharp objects that could damage the internal contacts. After cleaning, reinsert the media one by one, checking if the console powers on after each insertion to isolate the problematic component, if any.
This step is particularly useful if your Switch powers on without the media but fails to do so when they are inserted. It points towards an issue with the specific card or cartridge, or potentially the slot itself.
Advanced troubleshooting: software and firmware
If all hardware-related checks fail, the problem might lie deeper within the console’s software or firmware. Corrupted system files, failed updates, or other software glitches can prevent the Switch from booting correctly. This requires a more nuanced approach in your Nintendo Switch repair guide.
While these steps are more advanced, they are still within the realm of user-performable diagnostics before requiring professional intervention.
Recovery mode access
The Nintendo Switch has a recovery mode, similar to safe modes on other devices, which allows you to perform system updates or factory resets without fully booting into the operating system. This can be a lifesaver for software-related boot issues.
- Power off completely: Ensure your Switch is fully powered off.
- Enter recovery mode: Hold down both the volume up (+) and volume down (-) buttons, then press and hold the power button. Continue holding all three buttons until you see the maintenance mode screen.
- Choose an option: Once in recovery mode, you’ll have options like “Update System,” “Restore Factory Settings Without Deleting Save Data,” or “Initialize Console.” Start with “Update System” if available, then try “Restore Factory Settings Without Deleting Save Data” if the update doesn’t resolve the issue.
System updates and data integrity
Sometimes, a failed system update or corrupted system files can prevent the Switch from booting. Recovery mode can help address these by reinstalling or repairing system software.
If you choose to update the system via recovery mode, ensure your Switch is connected to the internet (you might need to connect it to a Wi-Fi network in recovery mode if it offers that option, or it might require a local update file). If you opt for restoring factory settings without deleting save data, this will reset system settings but preserve your game saves, which is often a good middle-ground solution for software issues. Only choose “Initialize Console” as a last resort, as it deletes all data.
Navigating these advanced software steps can be daunting, but they often provide a pathway to recovery when simpler solutions have failed. Always proceed with caution and ensure you understand the implications of each option in recovery mode.
When to seek professional repair
After exhausting all the troubleshooting steps in this Nintendo Switch repair guide, there might come a point where the issue is beyond a user’s ability to fix. Recognizing when to seek professional help is crucial to avoid further damage to your console.
Attempting repairs without the proper tools, knowledge, or experience can often exacerbate the problem, making a professional repair more difficult and costly.
Identifying hardware failure
If your Switch still won’t turn on after trying everything, it’s highly likely to be a significant hardware failure. This could involve components like the motherboard, power management IC, or other internal circuitry.
- No signs of life: If there’s absolutely no response (no lights, no sound, no vibration, no display on TV) after extensive charging and hard resets, it points to a deeper hardware problem.
- Physical damage: Visible damage to the charging port, screen, or console casing can indicate internal damage that requires specialized repair.
- Liquid damage: If your Switch has come into contact with liquids, internal corrosion can occur, leading to power failures that are difficult to fix at home.
Nintendo’s official support and warranty
Before considering independent repair shops, always check if your Nintendo Switch is still under warranty. Nintendo offers official repair services that can be more reliable and sometimes more cost-effective if your console qualifies.
Contact Nintendo’s customer support through their official website or helpline. Provide them with a detailed description of the issue and the troubleshooting steps you’ve already taken. They can guide you through the process of sending your console in for inspection and repair. Even if your warranty has expired, Nintendo’s official repair service might still be a viable option, though it will incur costs. Independent repair shops can also be a good alternative, but ensure they have a good reputation and experience with Nintendo consoles.
Knowing when to hand over your console to experts ensures that it receives the best possible care and increases the chances of a successful repair, bringing your beloved Switch back to life.
Preventative measures for future issues
After all the effort put into troubleshooting and potentially repairing your Nintendo Switch, taking preventative measures is essential to avoid similar power-on issues in the future. A good Nintendo Switch repair guide not only helps fix problems but also educates on prevention.
Proactive care can significantly extend the lifespan of your console and reduce the likelihood of encountering frustrating power-related malfunctions again.
Proper charging habits
How you charge your Switch can have a big impact on battery health and overall console longevity. Adopting good charging practices is simple yet effective.
- Use official chargers: Always use the official Nintendo Switch AC adapter. Third-party chargers, especially cheap ones, can deliver incorrect voltage or amperage, damaging the battery or power management chip over time.
- Avoid deep discharge: Try not to let your battery completely drain to 0% regularly. While modern batteries are more resilient, frequent deep discharges can still reduce battery lifespan.
- Don’t leave it plugged in indefinitely: Once fully charged, it’s generally good practice to unplug the console. Although the Switch has overcharge protection, continuous trickle charging isn’t ideal for long-term battery health.
Safe storage and handling
The physical environment and how you handle your Switch play a significant role in preventing hardware damage, which can lead to power issues.
Store your Nintendo Switch in a cool, dry place away from extreme temperatures and direct sunlight. Heat can degrade battery performance and other internal components. When not in use, consider placing it in a protective case to prevent accidental drops, impacts, or liquid spills. Be mindful of dust and debris, especially around the charging port and ventilation grilles. Regular, gentle cleaning with compressed air can prevent blockages that lead to overheating or charging problems.
By integrating these preventative measures into your routine, you can significantly reduce the chances of encountering power-on problems and ensure your Nintendo Switch remains a reliable source of entertainment for years to come.
| Key Issue | Brief Solution |
|---|---|
| No Power/Black Screen | Perform a hard reset (hold power for 12s), ensure official charger is used, and charge for several hours. |
| Charging Port Damage | Inspect port for debris; clean gently with compressed air or toothpick. Avoid liquids. |
| Software Glitches | Access recovery mode (Volume Up+Down + Power) to update system or restore settings. |
| Hardware Malfunction | Contact Nintendo Support or a professional repair service, especially if under warranty. |
Frequently asked questions about Switch power issues
If your Switch still won’t turn on after an overnight charge, the battery might have been in a deep discharge state, requiring an even longer period to reactivate. Alternatively, the charging cable, adapter, or port could be faulty, preventing power delivery. Try a hard reset and check all connections.
While less common, a corrupted or physically damaged game cartridge or microSD card can sometimes interfere with the Switch’s boot-up sequence. It’s a good troubleshooting step to remove all external media (game cards and microSD cards) and then attempt to power on the console.
Maintenance mode (or recovery mode) allows you to perform system updates or factory resets without fully booting the operating system. You can access it by holding volume up (+), volume down (-), and the power button simultaneously. This can resolve software glitches preventing your Switch from turning on.
If you hear sounds or feel vibrations but see nothing on the screen, your Switch is likely powered on but experiencing a display issue. Try connecting it to a TV via the dock to see if video outputs there. This indicates a problem with the console’s internal screen rather than a complete power failure.
If you’ve tried all troubleshooting steps, including hard resets, charging checks, recovery mode options, and removing external media, and your Switch still won’t turn on, it’s time to seek professional help. This usually indicates a deeper hardware issue that requires specialized tools and expertise.
Conclusion
Facing a Nintendo Switch that won’t turn on can be a source of significant frustration, but as this comprehensive Nintendo Switch repair guide demonstrates, many issues can be resolved with systematic troubleshooting. From basic power checks and extended charging sessions to advanced software diagnostics via recovery mode, there are numerous steps you can take before considering professional repair. Remember the importance of using official accessories, maintaining good charging habits, and handling your console with care to prevent future problems. By following these guidelines, you increase your chances of reviving your Switch and ensuring its longevity, keeping your gaming adventures uninterrupted.